Showing posts with label DIY design. Show all posts

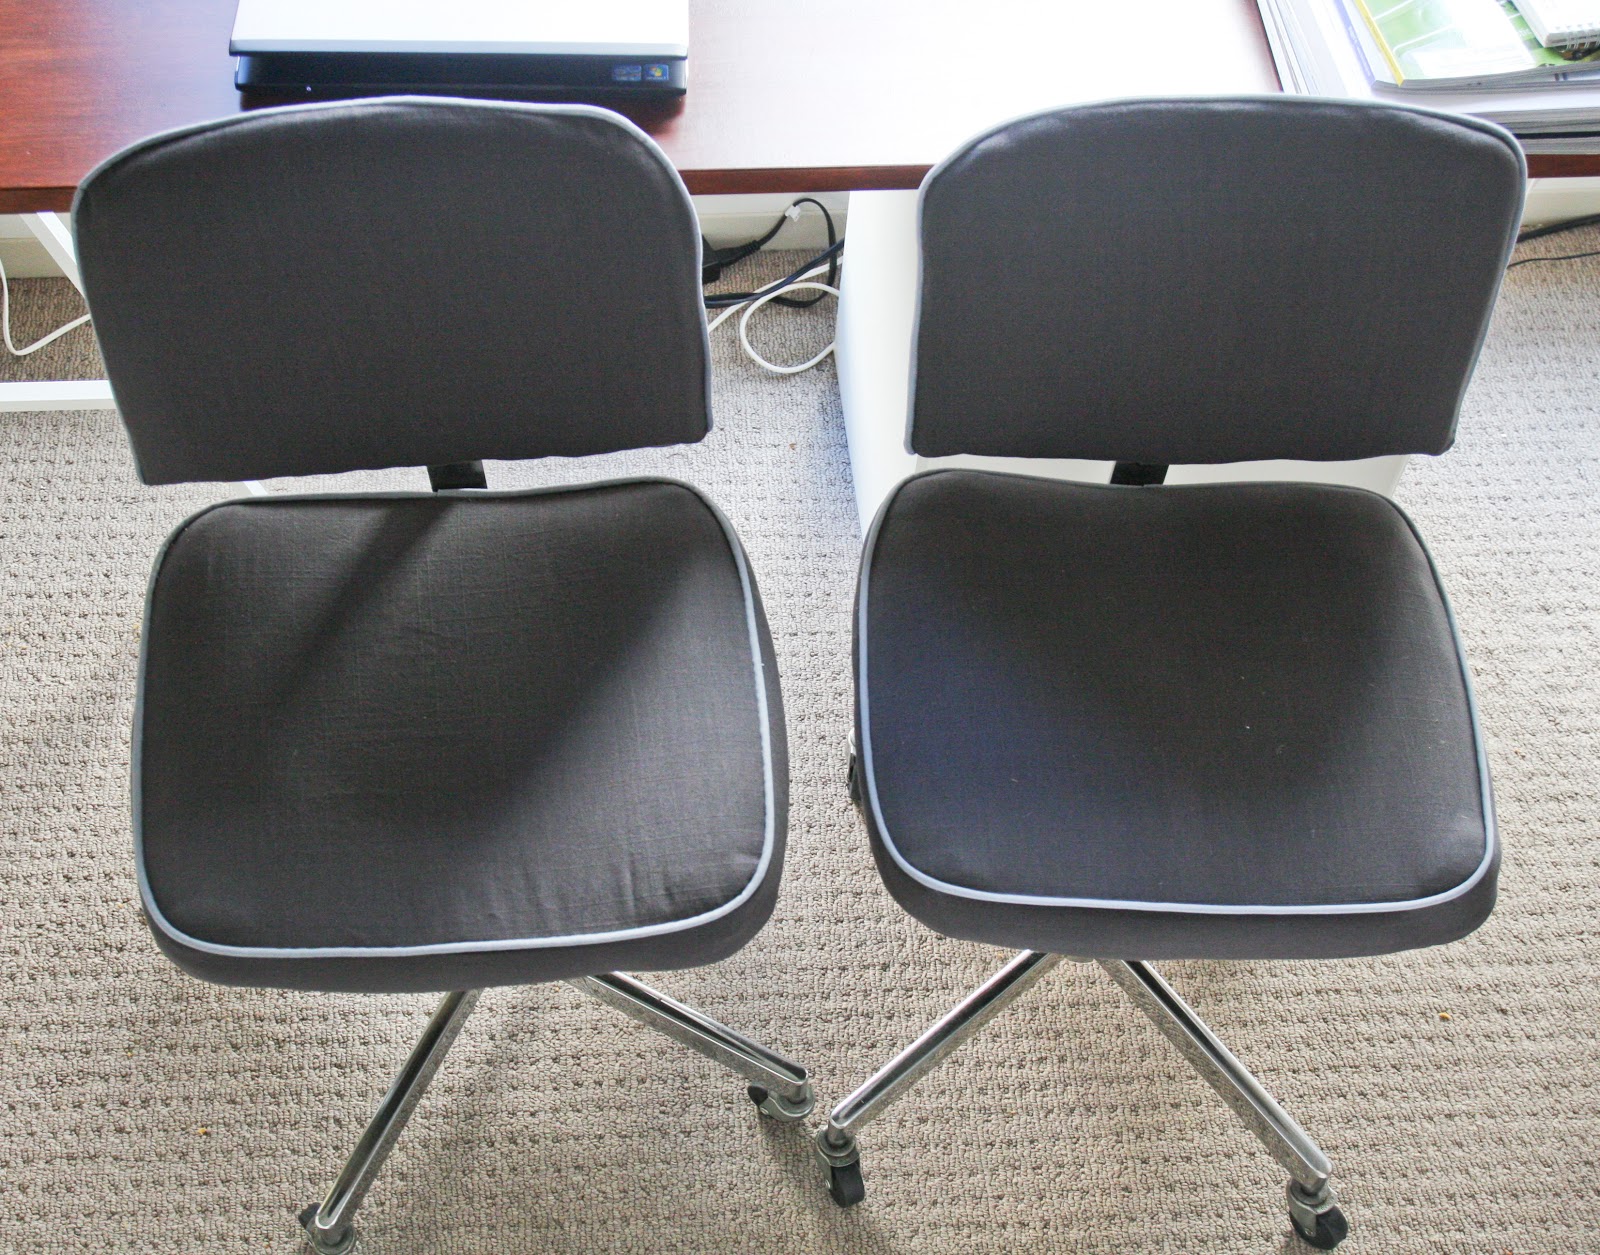
DIY Re-Upholstered Office Chairs {before and after}

>> Tuesday, March 27, 2012

If you live in Boston and do not read Crocodile Tears you are missing out. Keyse basically pulls everything cool off of Craig's List and does a weekly round up post. It. is. awesome. And she's funny. She calls people out for posting pics with crap all over their furniture, or my pet peeve, when someone puts $1. Nothing is ever $1. A couple of months ago she posted two retro, metal office chairs someone had listed for $15 in Beverly MA....$15! The next morning I snagged them up.

In the beginning I thought I would just leave them red. They were cute enough. But after I made the headboard, they started to look a little too much like something you would see in an AutoZone shop. So I rummaged through my stacks of remnant fabric and pulled out a gray linen blend and gray-blue cotton. I set Hulu to play through all the new Office episodes and before they set up the new Sabre store I had this.
The one thing I did realize after the first chair was complete was that the red leather definitely hid the natural bulges of the foam and batting better than the linen. But oh well, I was half way there.
They are not perfect and the metal polish did not quite work as well I had imagined it would. But I really like them a million times better than the plastic Office Depot chair that used to live there. And for $7.50 a chair, you can't beat it. Here they are together.
p.s. Whose messy office is that in the background?? I came across this print a couple of months ago. 
I'm pretty sure it was made just for me.

Read more...

DIY Striped Headboard

>> Wednesday, February 22, 2012

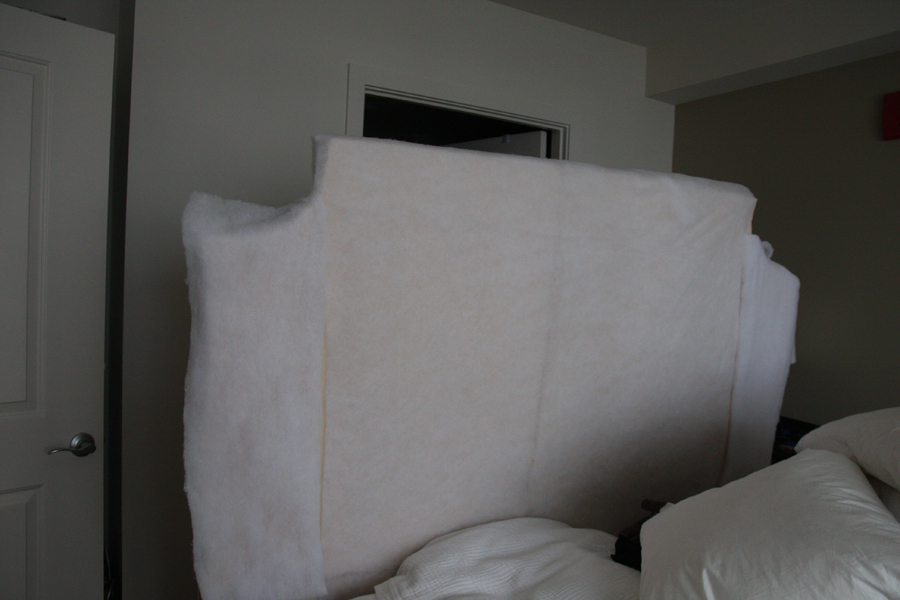
Remember when I used to make stuff all the time and post it on this blog? Well I occasionally still find the time to make stuff, finding time to actually post it has been more of a challenge. A while back I pinned this headboard with the intent to make one for our bedroom. Last weekend I finally made it (thank you Presidents Day).

Here are a few shots of the process.
if you are wondering, no, my pillows do not have shams...still working on that.


Cost Breakdown
Fabric- $20
Plywood- $13
Wood Screws- $2
Egg Crate mattress pad I used instead of foam (flat side out) $14
Batting- left over from chair project $0

Tools
Pneumatic staple gun and air compressor- purchased for the chair project, also came in handy for this project.
Jigsaw- bought this at home depot for $30, so far so good.

I thought about adding the piping like the one on my pinterest board...but I will probably just leave well enough alone. Total time spent on project, including the trip to Home Depot, 3 hours. And you know, I kind of love it more than the chairs that took one billion hours. Funny how that works out.


Read more...

Mr. and Mrs. Clause Silhouette Pillows {a tutorial}

>> Tuesday, December 6, 2011

Imitation is the sincerest form of flattery right?

I pinned Toby Fairley's Saint Nick pillows last week because I thought they were adorable. I am a really big fan of holiday decor that is well integrated into your existing decor. Unfortunately, this Christmas, Tobi's pillows are not in the Sabbe family budget. So I decided to get out the ole' freezer paper and give it a DIY go. I added a Mrs. Clause and I'm really excited about how they turned out.
 I found some free clip art online and used Illustrator to create these templates. 
I made two envelope pillow cases. I did buttons on the back of mine, but for a super easy, button free tutorial see here. Tip: if you do decide to do buttons, wait to add the buttons until after you have stenciled. I ended up having to cut my buttons off and then sew them back on...bad planning.
Here are all the supplies you need (plus an iron) I use Jacquard Textile colors for my paint. 
This color is 106 True Red.
I am not the first person to do a freezer paper stencil, but here is a refresher. Trace the silhouettes onto the freezer paper, glossy side down, and then cut them out of the center of the sheet.
Iron the pieces onto the pillow case, make sure all the edges are smooth and flat. Place a magazine inside the pillow case (the paint will leak through) and paint. I then removed the freezer paper and used a small artist brush for touch ups. 
Let it dry overnight and ta-da....
I was too lazy to do the knife edge with an accent color, like my inspiration, but I like the buffalo plaid peeking out on the backside.
And because I already had the fabric and buttons, the total cost of this project was $3 (the fabric paint)
It really was such an easy project!

Read more...

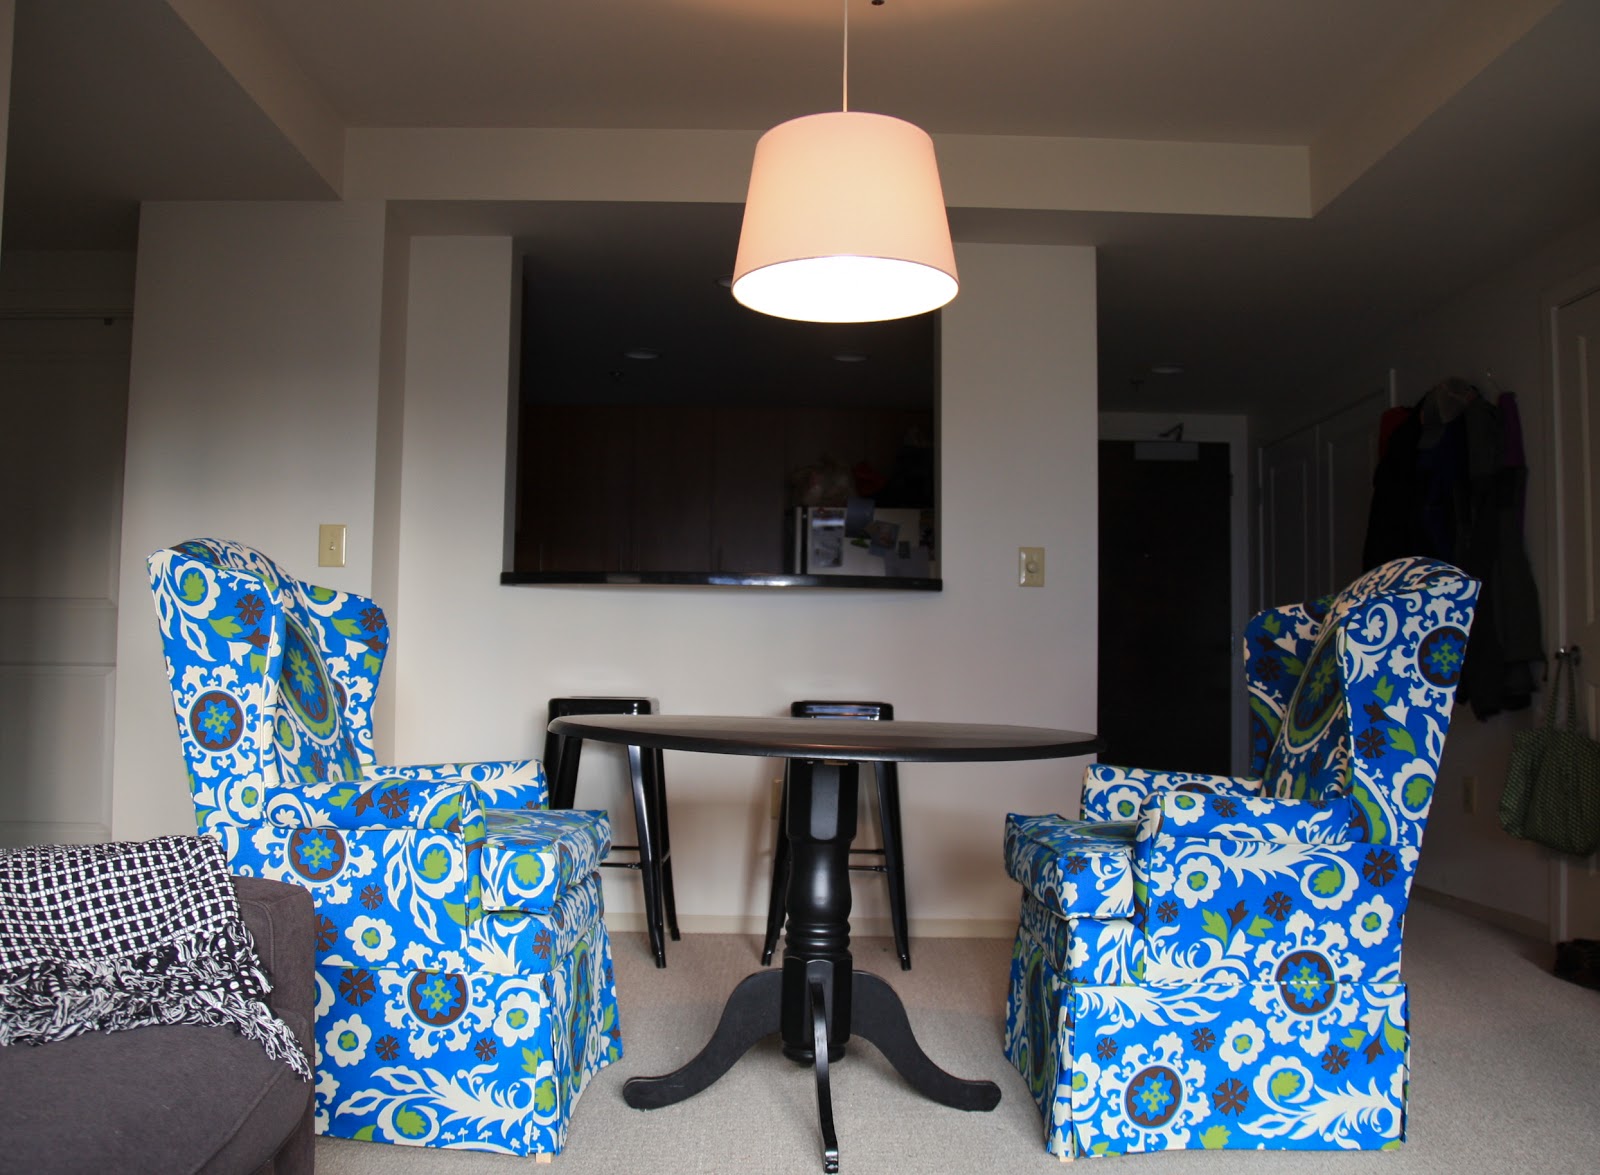
My Second Born: Re-Upholstered Wingback Chairs {before and after}

>> Friday, December 2, 2011

I guess they are actually my second and third born. It started almost a year ago with a pair of these. $75 on craig's list.


I started pulling them apart the week we moved into our new apartment. Sounded a lot more fun than unpacking.
I injured myself a couple of times. 
And after much more labor than it took to have Remi, the twins were born.
They're fraternal, not quite identical, with differences only their mother would know. 
They are not perfect, but just like my first born, I love them like they are.
Our apartment is very corporate housing-esk. So I wanted to use a crazy, bold pattern to liven it up. Being a first upholstery attempt, I also wanted to use the cheapest fabric possible. I have about a 60% DIY project success rate and I did not have high hopes for this one. I found this outdoor fabric for $35/chair. We have already spilled spaghetti sauce on it, which cleaned up nicely. And surprising everyone, especially myself, I finished the chairs.

Read more...

Our Halfway House

>> Thursday, September 8, 2011

I've come to terms with the fact that my house is pretty much in a constant state of halfway finished projects. My poor husband. My poor baby. Here is what we have on the docket these days, the projects narrating for themselves.

Remember my chairs? I made a white slipcover for one and then they discontinued the fabric. Then I decided I was too lazy to constantly wash slipcovers anyway. So I bought some outdoor fabric, ripped my hands apart stripping the chair, and here is where we are today...
Can you believe the one thing that is holding me up is staples? Only available online...annoying. Sourcing all of the componets has been the toughest obstacle. I could not fathom renting an air compressor and staple gun for $100 for a day when I could own both for $150. So I am now the proud owner of this...
My husband jokes that I need to start a tool renting business in our building. Who lives in a high rise and owns an air compressor and pneumatic staple gun? This girl.
Remember my swagged Ikea chandelier? Well I decided I hated  that too. So I made this contraption.
The main fixture is West Elm, but the shade is made of two giant, oval embroidery hoops and a piece of strathmore paper. Best part? It covers the swag and allows the fixture, as a whole, to be centered over the table. yay!

And lastly, remember my new tv stand? Not 100% finished, but it does currently hold the tv.
I decided I liked it better sans doors. So I had to sand down some imperfections on the green, thus the discoloration on the bottom. I still need to touch that up. And this pretty little number is on it's way to adorn the drawer, which I'm pretty pumped about.

And that is the current state of projects in the Sabbe household. To think we joked that I would have nothing to do since we were moving into a practically brand new space....ha, ha, ha. Like Jenny said, it's a sickness.

Read more...

This is How We Roll {Pun Intended}

>> Thursday, August 25, 2011

Behold, my new workshop space..
So this is where I will be making stuff happen for the next 3 years. It's the only non-carpeted space in the new apartment, besides the bathrooms. And a little known fact...normally I cringe at laminate hardwood flooring, but for a workshop floor it just happens to be great. We had it in our old house, in the kitchen. With a little magic eraser action, everything comes up.

So yesterday, while Mr. Sabbe grilled us up some steaks... on a grill pan (ah, city living) I thought it would be a good idea to be all in the way with my latest diy undertaking. I have a sweet husband. He tolerates me saying things like "if you hit this furniture with that refrigerator door I am going to kill you." (joking of course, he's too cute to kill) Because it's normal to be painting 4' long dressers, while someone else is trying to cook, in a 8 x 8 kitchen, right?

I'm not 100% finished, but remember the before...
And here is where I am. I  know, not quite breathtaking...yet.
But is it not so amazing what a difference a coat of paint can make?

This time around I researched painting tips. Centsational Girl has written an excellent post that anyone interested in painting a piece of furniture should read. The biggest ah-ha moment for me was her suggestion to buy this...
It works. They have it at Home Depot. But be warned, no one there had any idea what I was talking about and it was not with the paint thinners, like you would think. Another tip, add cautiously. I think I went a little heavy and ended up having to do a coat or two more because of it...BUT, no roller or brush marks!

Then I also remembered a post Jenny wrote on painting furniture. I use latex now that I have a baby and no outdoor space to paint. Oil based paints are much, much tougher, but they will make you high. So I needed a way to toughen up this piece because we are sitting a 40" tv on  it and I would like it not to have tv stand marks on the top when we move in 3 years. So I followed her instructions and added two coats of this...
The great thing is, the Floetrol takes the sheen out of your paint (it tells you this on the label). So my semi-gloss was not so glossy, but the the wipe-on poly added that gloss back. Problem solved. 

I'm going to paint the inside the same color as our last living room, because I have some left over. 
Cute architecture, I miss you.
But did you catch the cabinets and counters in our new space?
Ugly, 4' wide kitchen, I do not miss you.

So that is that. Seen any good hardware lately? I haven't really started looking, but I want something fun. 
I'm thinking brass. I recently discovered chicken wire comes in brass, get excited.

Read more...

Hey Good Lookin'

>> Tuesday, August 2, 2011

That's my little nugget's favorite song. He's the best lookin' thing I've ever seen.
But this week it also applies to the fabric I chose for the chair.
I'm going to have to feed ya'll this one in tiny pieces. I have a good amount of work-work to do this week, so who knows when I will get around to finishing this one up. But I love the jumbo scale on this fabric. Reminds me of one of my favorite Lonny images, but in my cuullaas (that's my Shelby impression)
Did I mention that it is indoor/outdoor? So my little guy can drool and spit up all day long and it should wipe right off.

Also, go visit Marianne's blog today! She's featuring the ABC's of me! You can check out my hair during the pre-flat iron days and Mr. Sabbe's cheeks pre-running around the hospital days.

AND...

Big day for me... Jennifer over at Rambling Renovators is talking about my new and old loves. I love me some Rambling Renovators. If we lived closer Remi would totally be booking a playdate with this little pumpkin.

Read more...

Call Me Crazy...My Husband Does

>> Friday, July 29, 2011

I am supposed to be unpacking this week. We made it to our new apartment last Saturday, I like it here. But last Monday night, when my husband was on call and my baby was asleep, I got distracted by some upholstery video I happened upon. So I pushed pause on unpacking and started doing this...

He thought I was even more crazy when I showed him how I could potentially need a tetanus shot. Upholstery work is seriously dangerous.
My mom came to town on Tuesday. With a full time baby holder in town, I pulled approximately one billion staples and the chair now looks like this...
5 yards of this is scheduled to arrive today....
If you plan to come visit me any time soon, we may not be unpacked, 
but we will have AC and a pretty new chair.

Read more...

  © Blogger template Simple n' Sweet by Ourblogtemplates.com 2009

Back to TOP